28th April 2023
I do like a wander with the macro lens. Pretty sure it's a sign of laziness, but it's also amazing what can be found within a small area when you stop and look. It may not be for everybody, but observing what nature does on these small scales can be absolutely fascinating. And using a camera to capture it adds another level to that.
But, the laws of physics dictate that when you have something so small so close to your lens and camera sensor there's no aperture tiny enough to ensure what you are photographing will be in focus, unless it's flatter than a wafer thin pancake and sitting parallel to the camera sensor.
This spider wasn't any of that, so the plan was to get it framed and in focus at it's nearest point, shoot, then re-focus a bit further, then shoot, and repeat until I'd scanned across the whole of the subject. For this you require a very steady subject (I've watched videos of folk using dead beasties, but I'm not going down that route).
I've used a bit of artistic license to achieve the final result, but I do like the amount of details that this technique brings out.
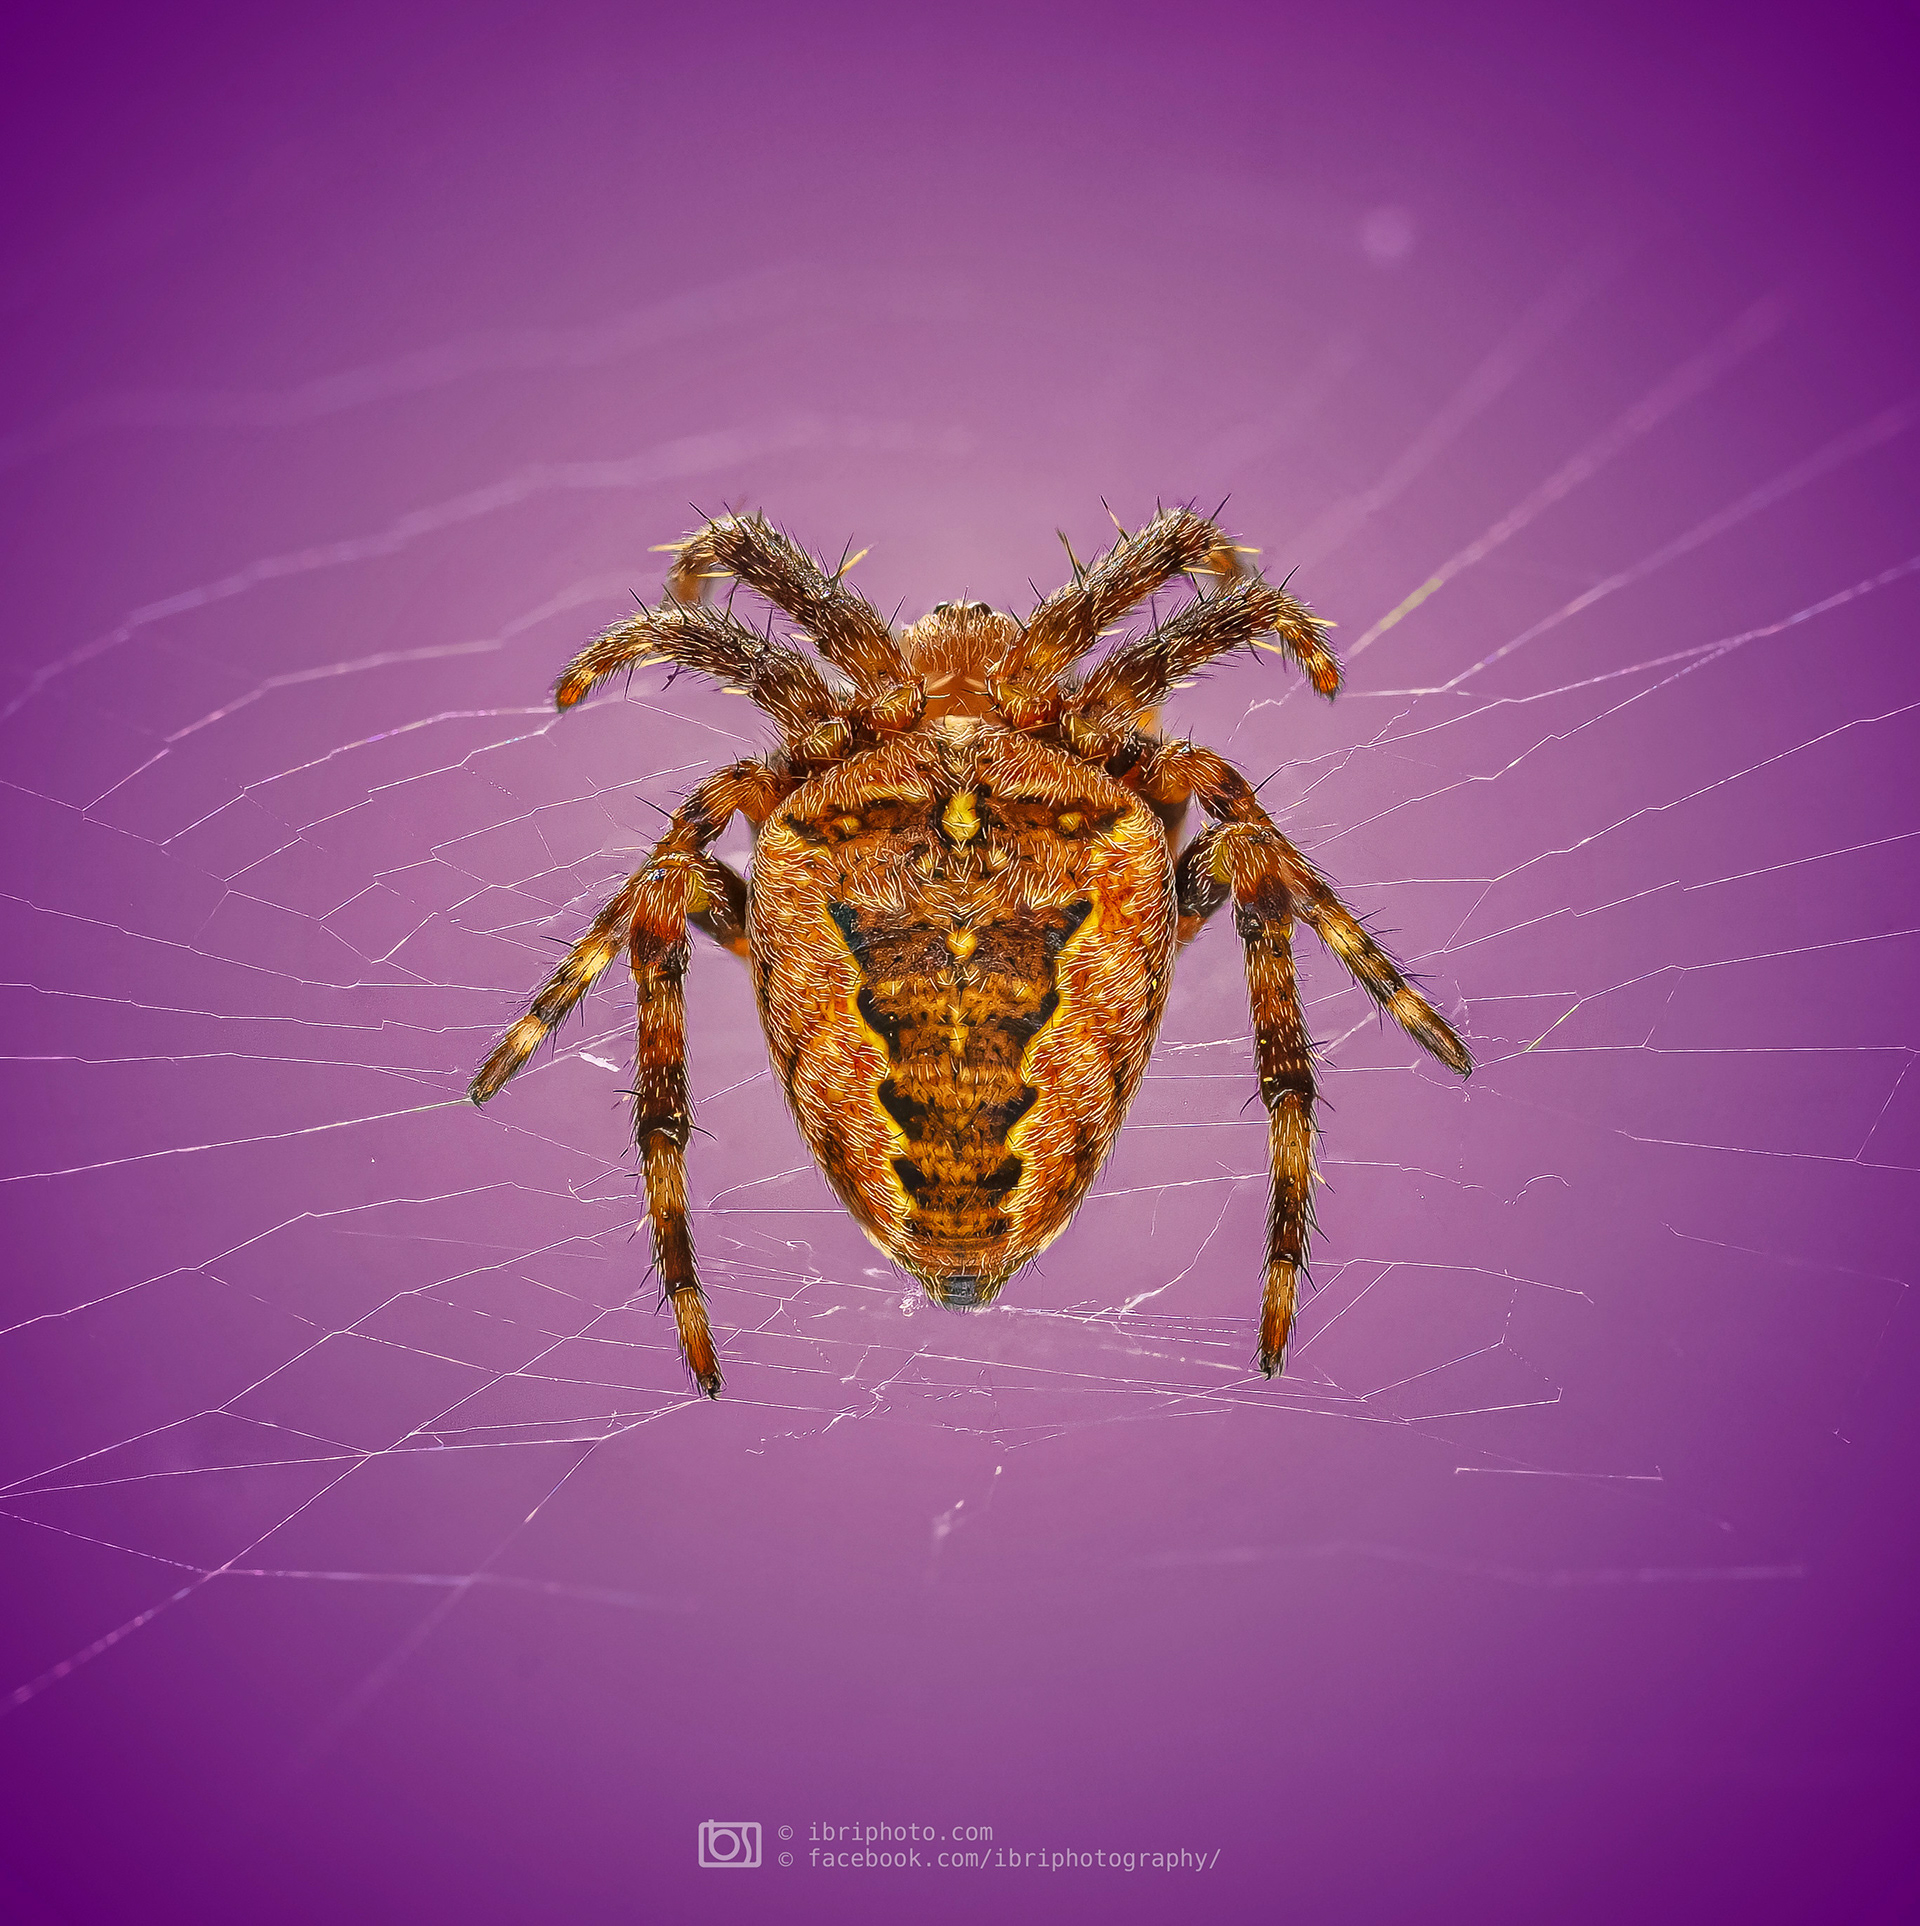
The final image above, a combination (focus stack) of 22 images of a young garden spider
The images below show the creative process taken to get to the image above - with some scribblings and captions to cover and try to explain the steps taken.
Press the Spider's butt to see the full size version
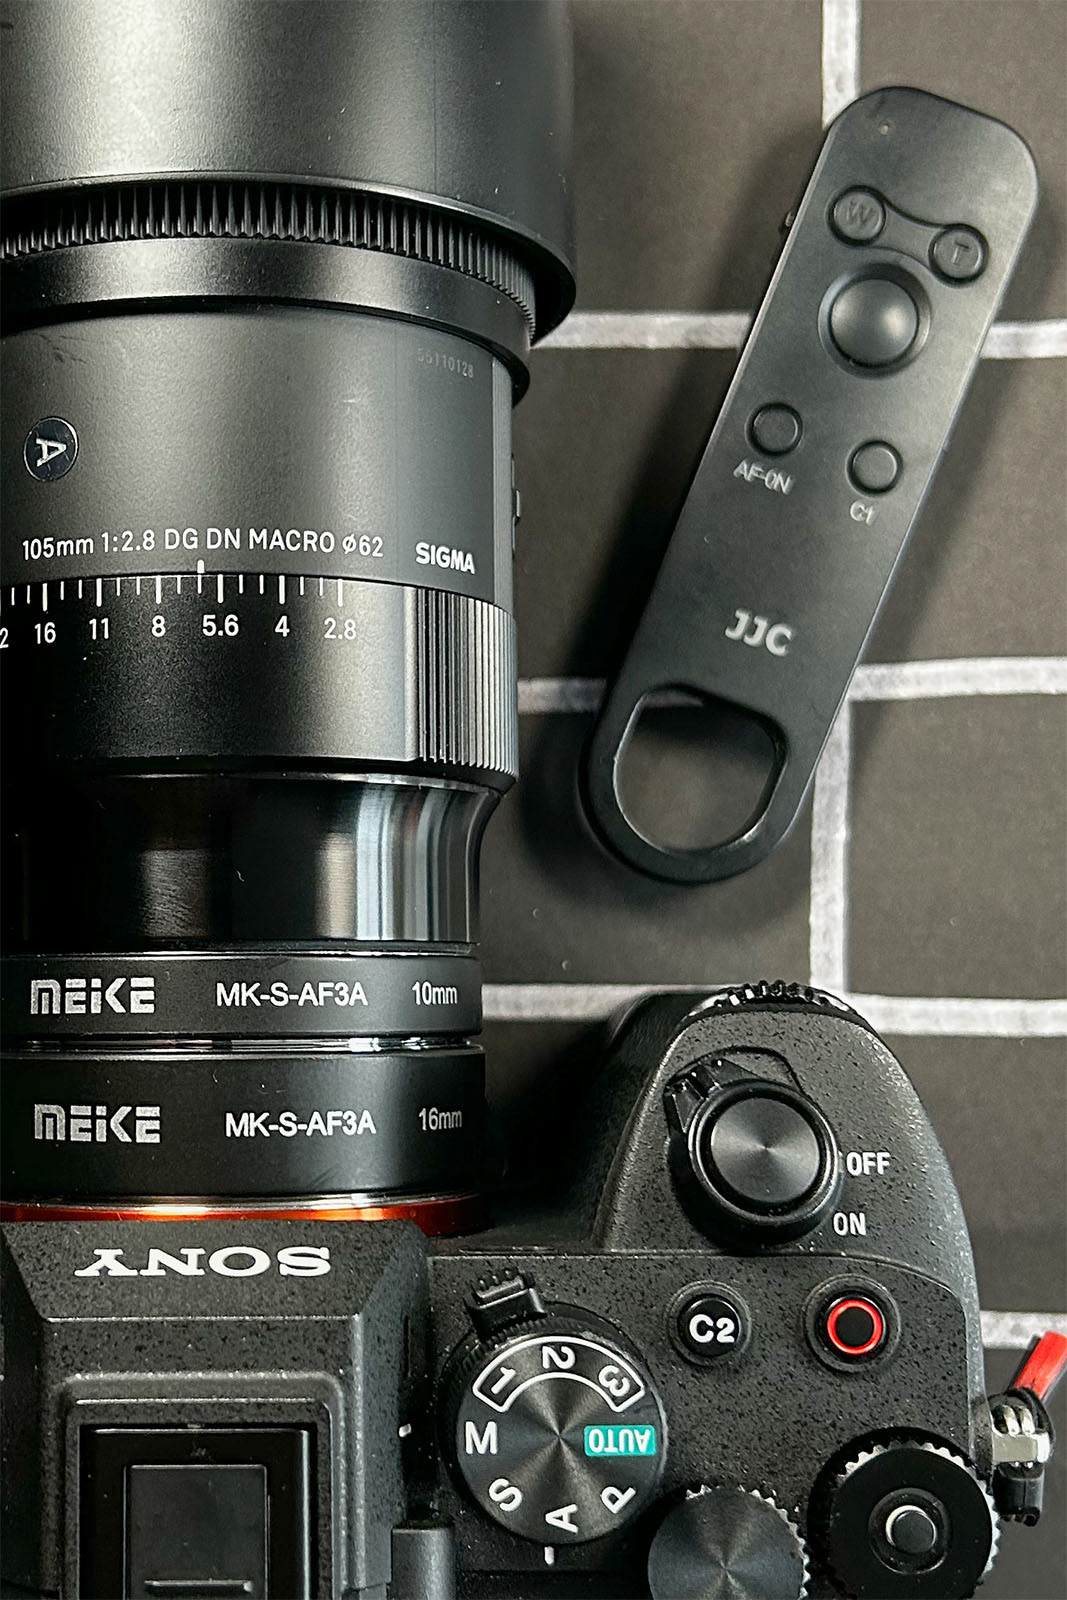
The Spider was young, small (be October before it's fully big and scary) so the Macro lens was stacked with two extension tubes - 10mm and a 16mm. The web had spun inside of a garden storage container and was mostly sheltered from the wind, so l
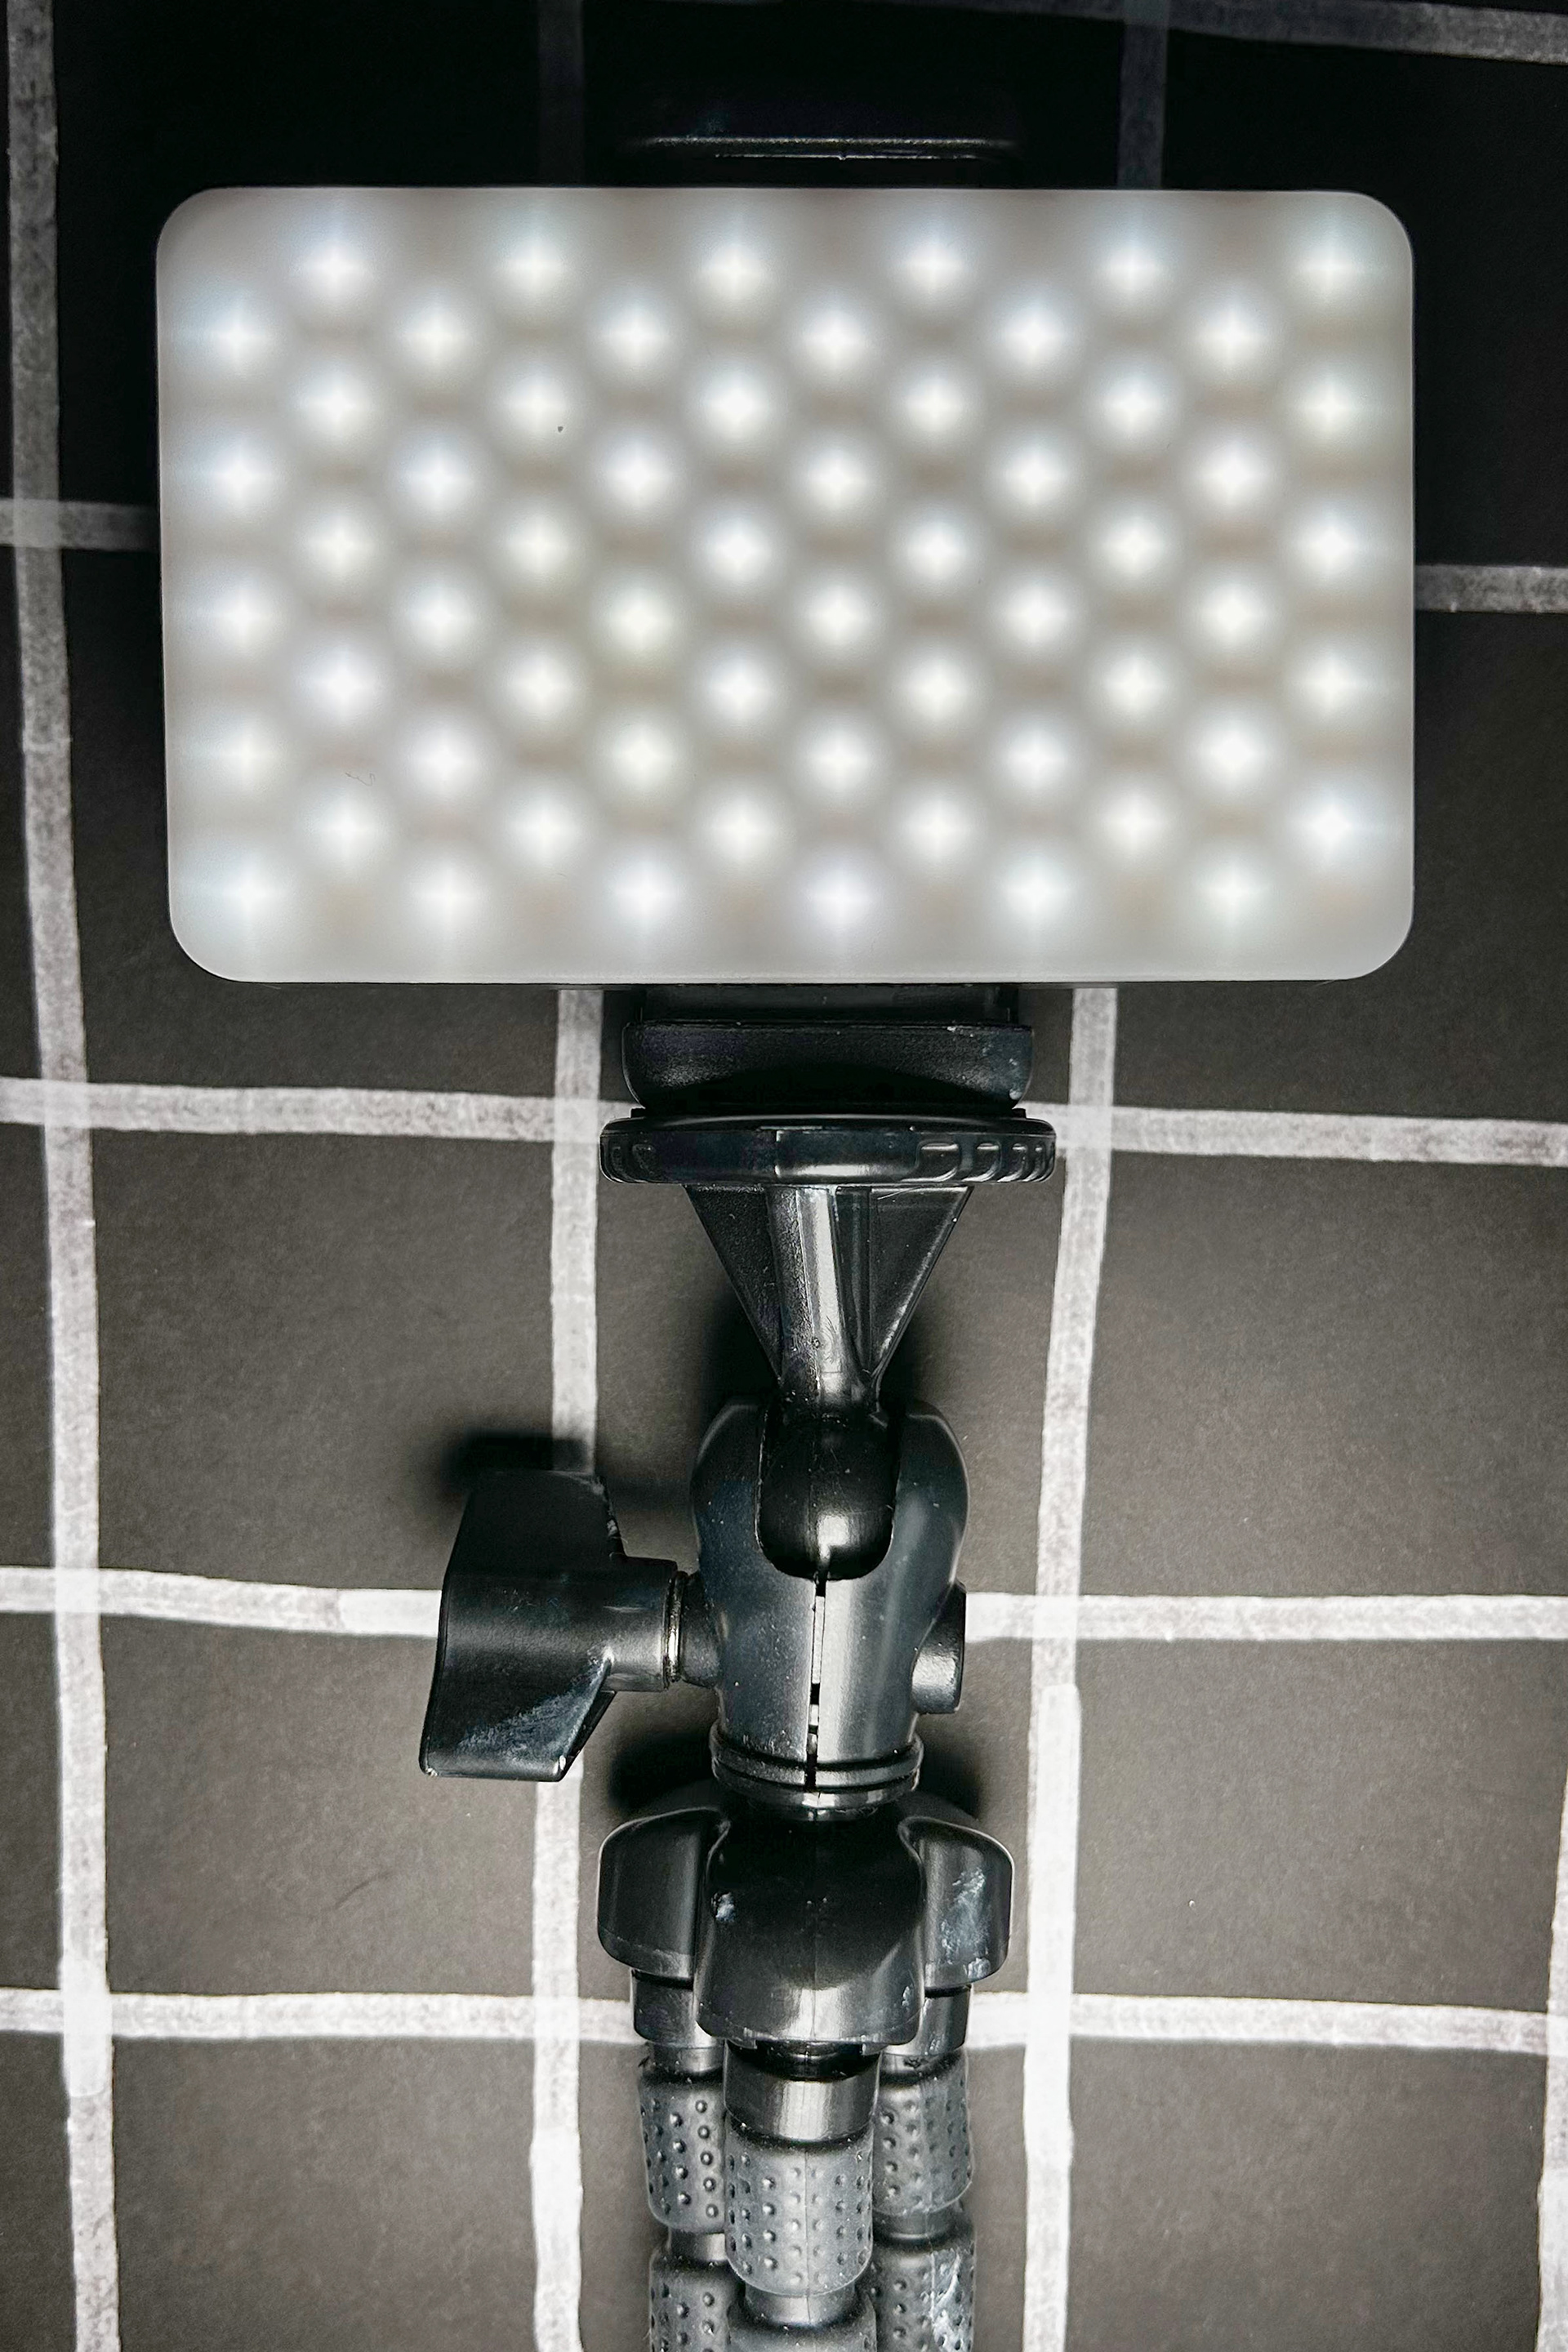
As I was planning a series of images in quick succession I used some small continuous light LEDs to add some extra brightness, rather than a speed light/flash.
Camera set up and locked into position on tripod, lights set up and spider still not phased so we're good to go.
Focusing using the Sony's focus peaking system showed there was only ever going to be a fraction of a millimetre in actual focus in each shot - so I set up focus on the closest point, then used the handy little remote to step further through the shot until I was sure I'd got all of the spider in focus at one point or another.
Camera settings across all shots - Manual mode - f5.6 - 1/80 sec - ISO400. Manual focus, controlled remotely. Silent/Electronic shutter used to avoid even the tiniest of camera movement with the mechanical shutter.
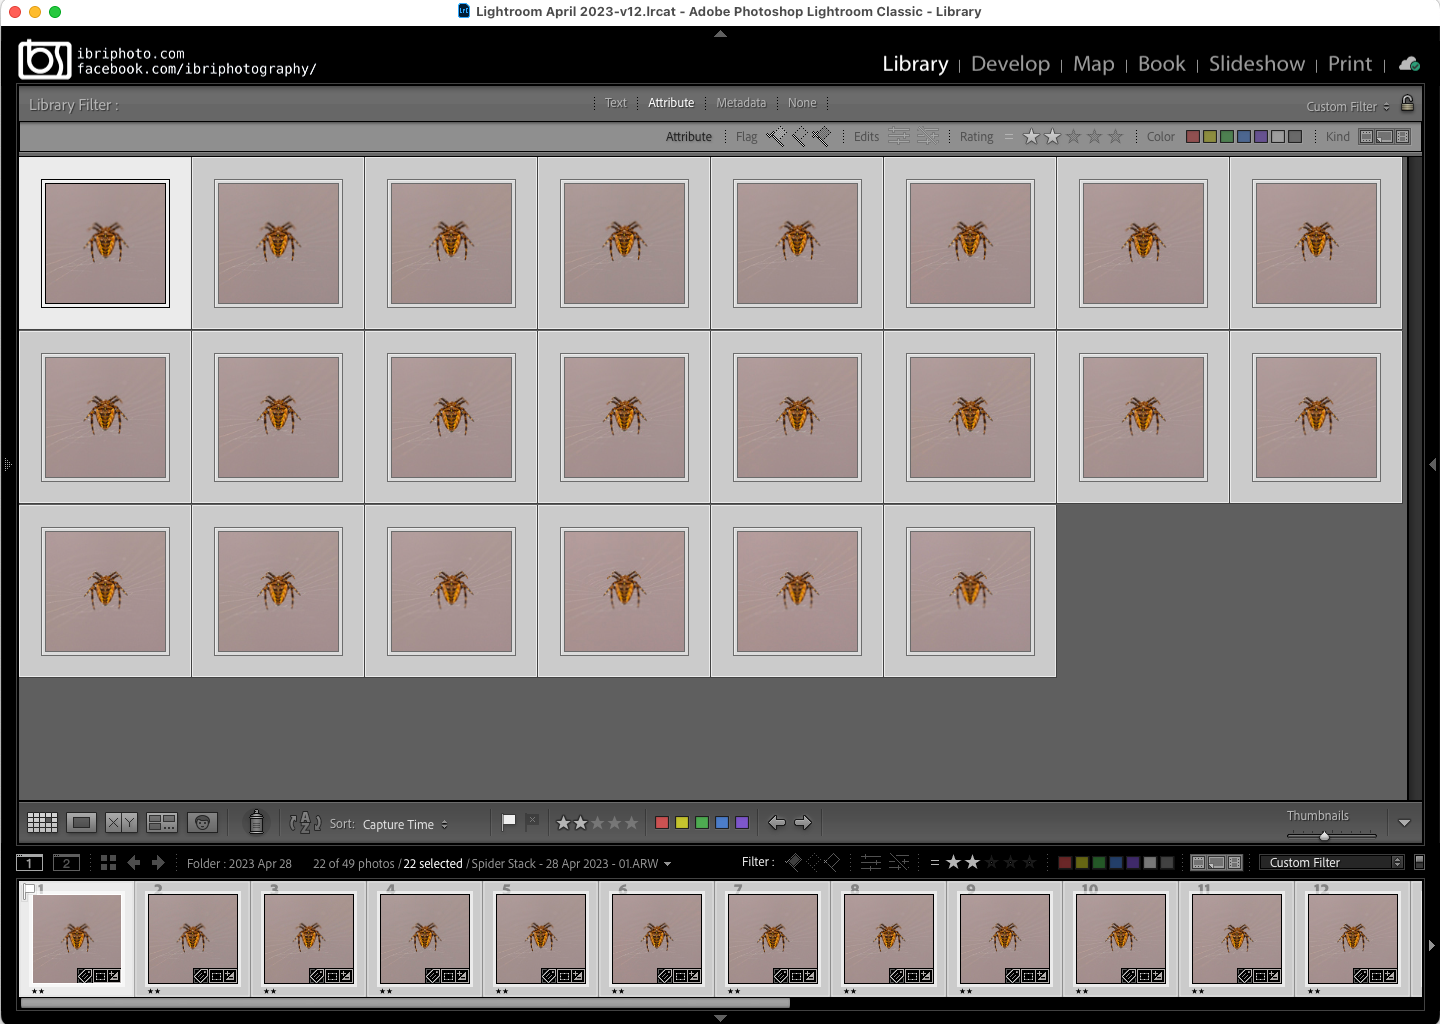
This video scans through all of the original images in Adobe Lightroom and shows the focal plane change across the range, as well as some very minor movement due to the slight breeze outdoors. That can be fixed in Photoshop though.
The images below show the sequence of getting the focus stack completed to create the final image
Using the remote allows me to nudge the focus back and forward in tiny increments - much more than any built in focus bracketing or additional software. To be safe I’d shot double this, but testing with very second one seems to give the required sharpness to create the final sharply rendered image.
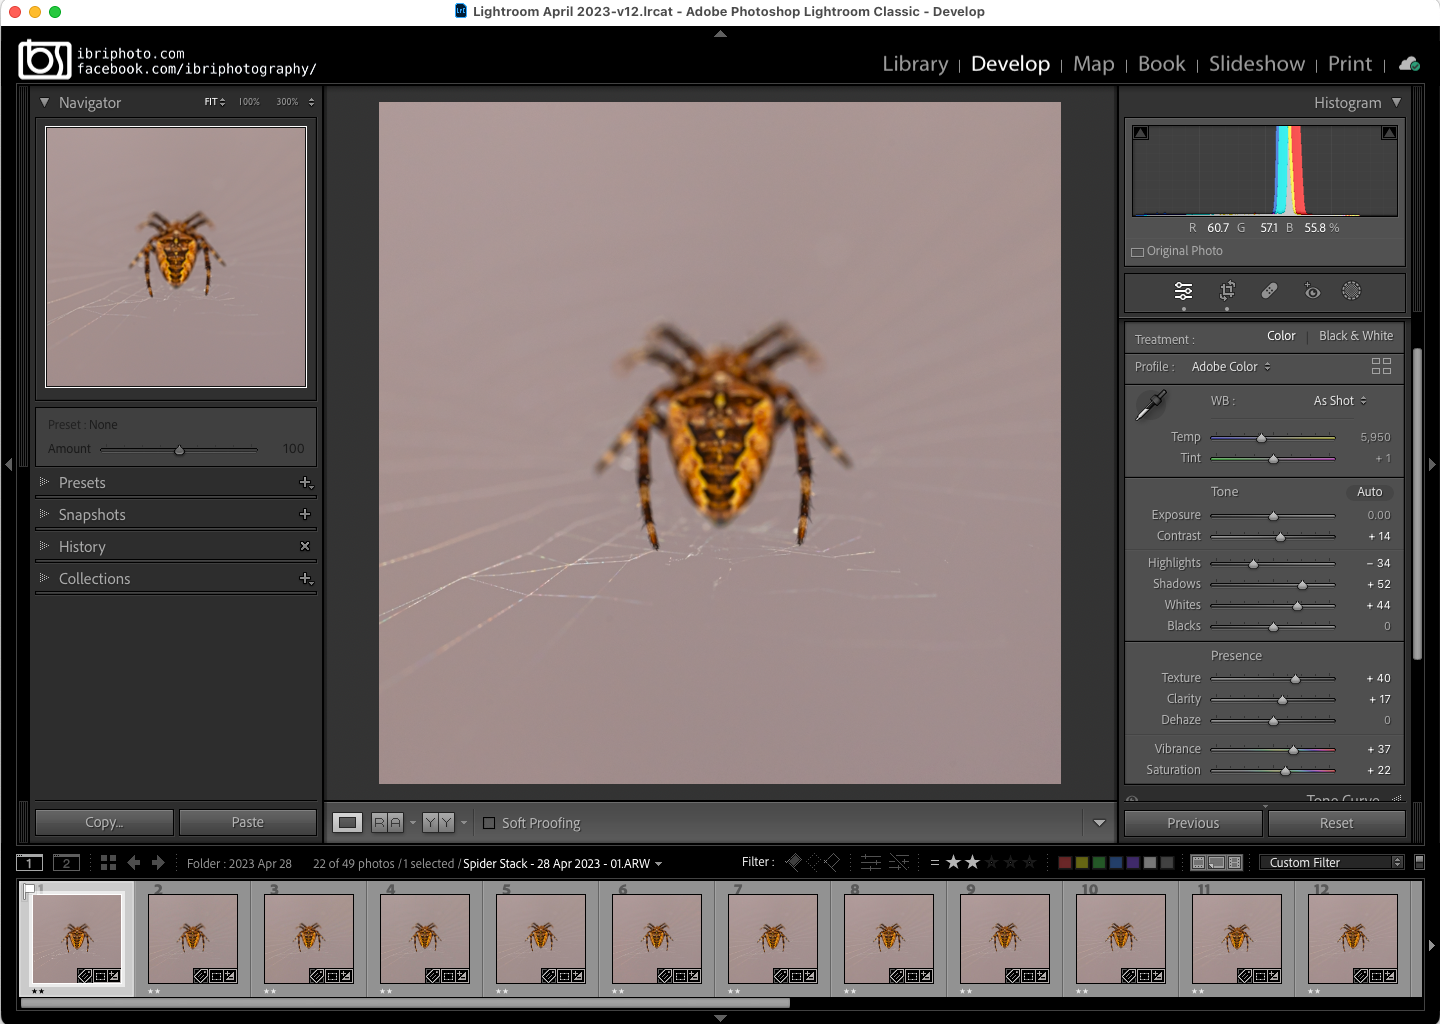
Some basic editing of the RAW file in Lightroom first, then synchronising that across the 22 images to match. The time-frame across the first image to last was just over 1 minute - trying to shoot whilst it looked the spider was in a deep sleep and never budged a nanometre.
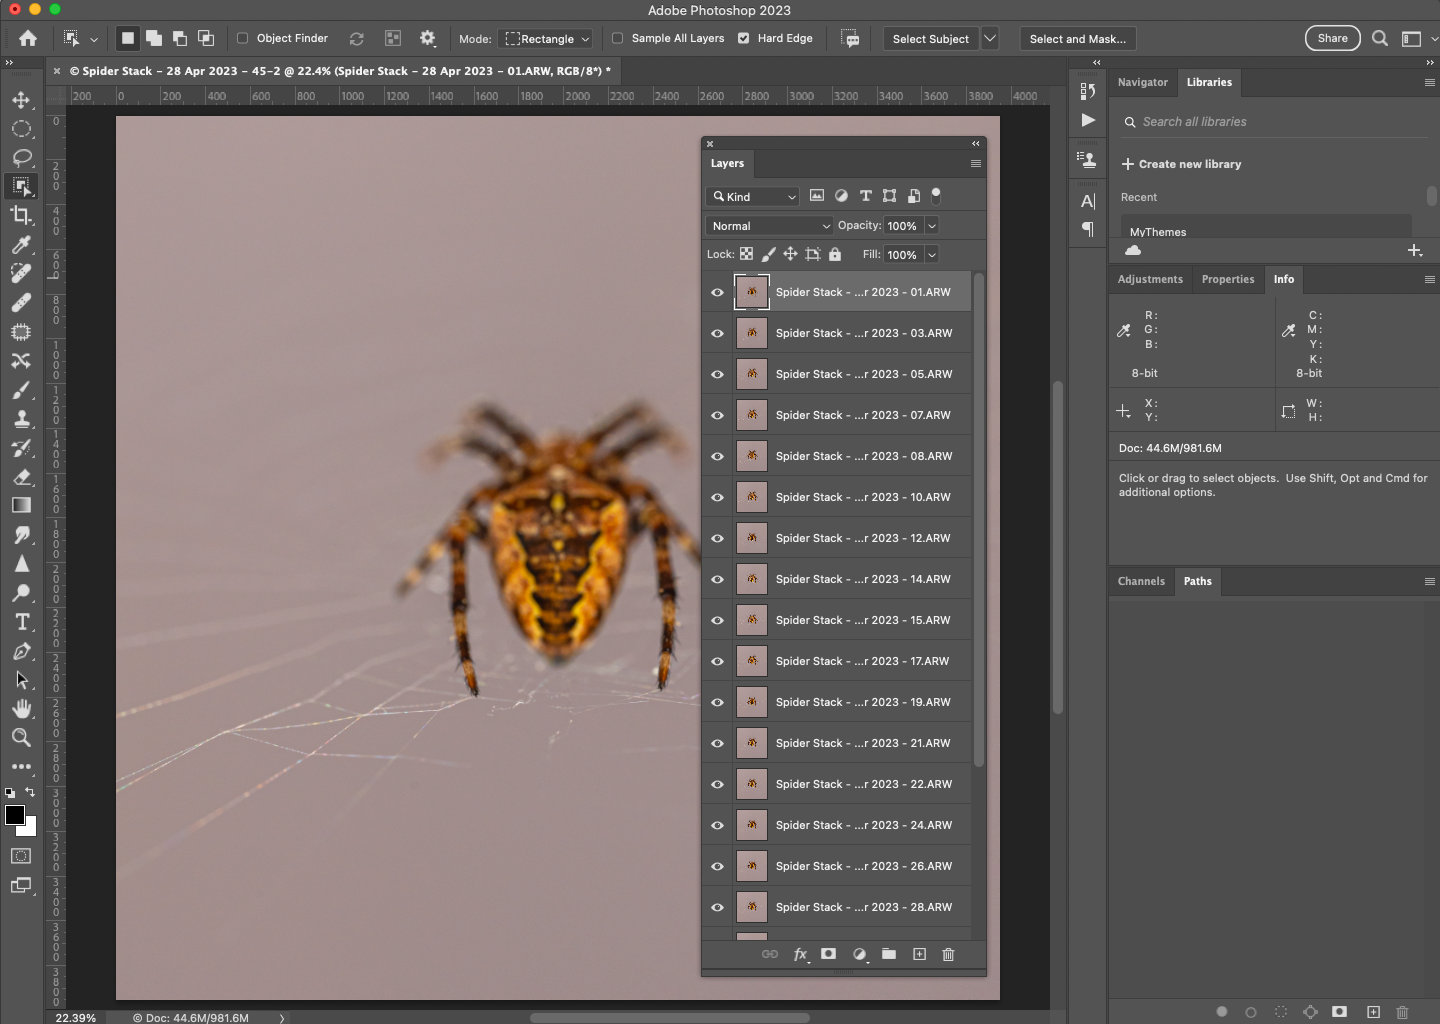
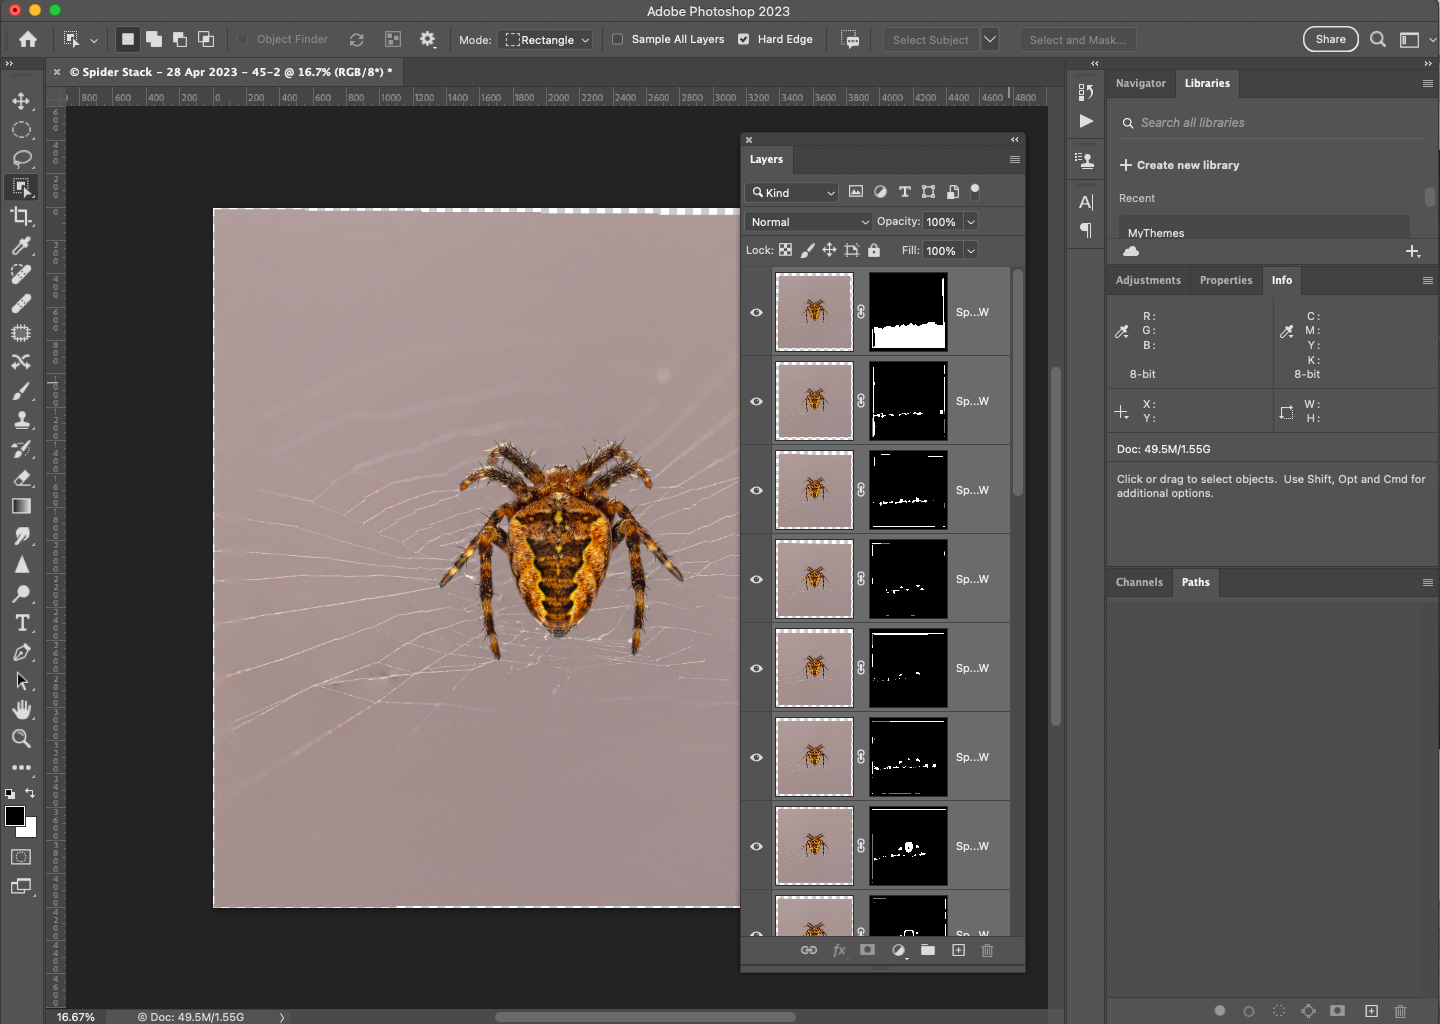
From Lightroom the images were opened as a Layer stack in Photoshop.
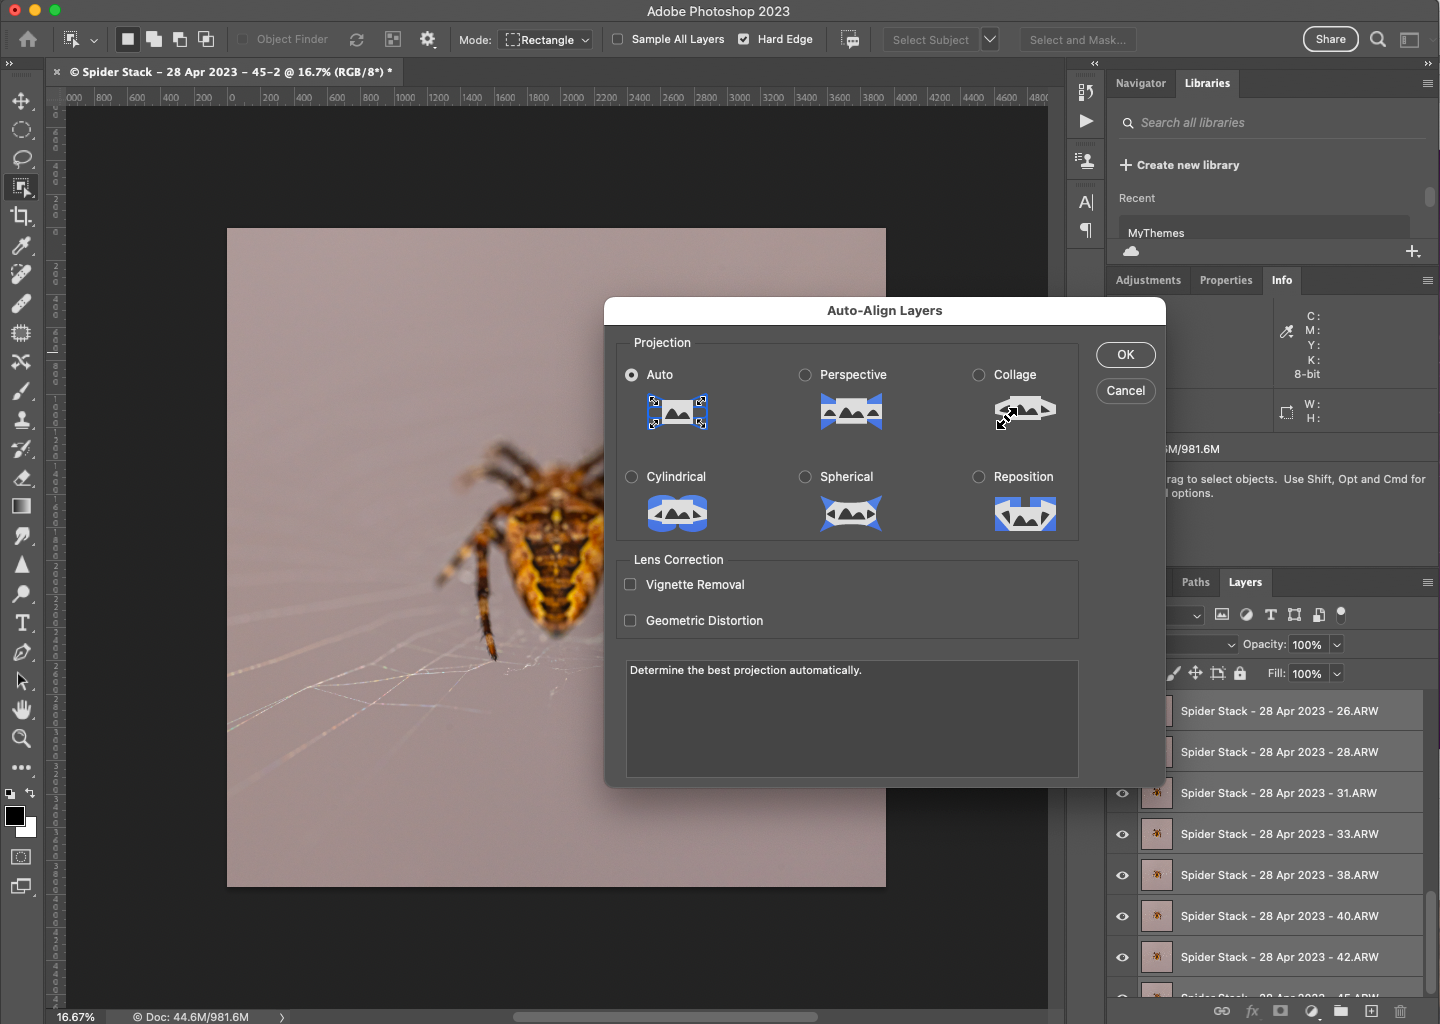
As much as I saw very little movement, there was the odd breath of wind that moved the web and spider slightly. This process nudged them nicely back into tight register.
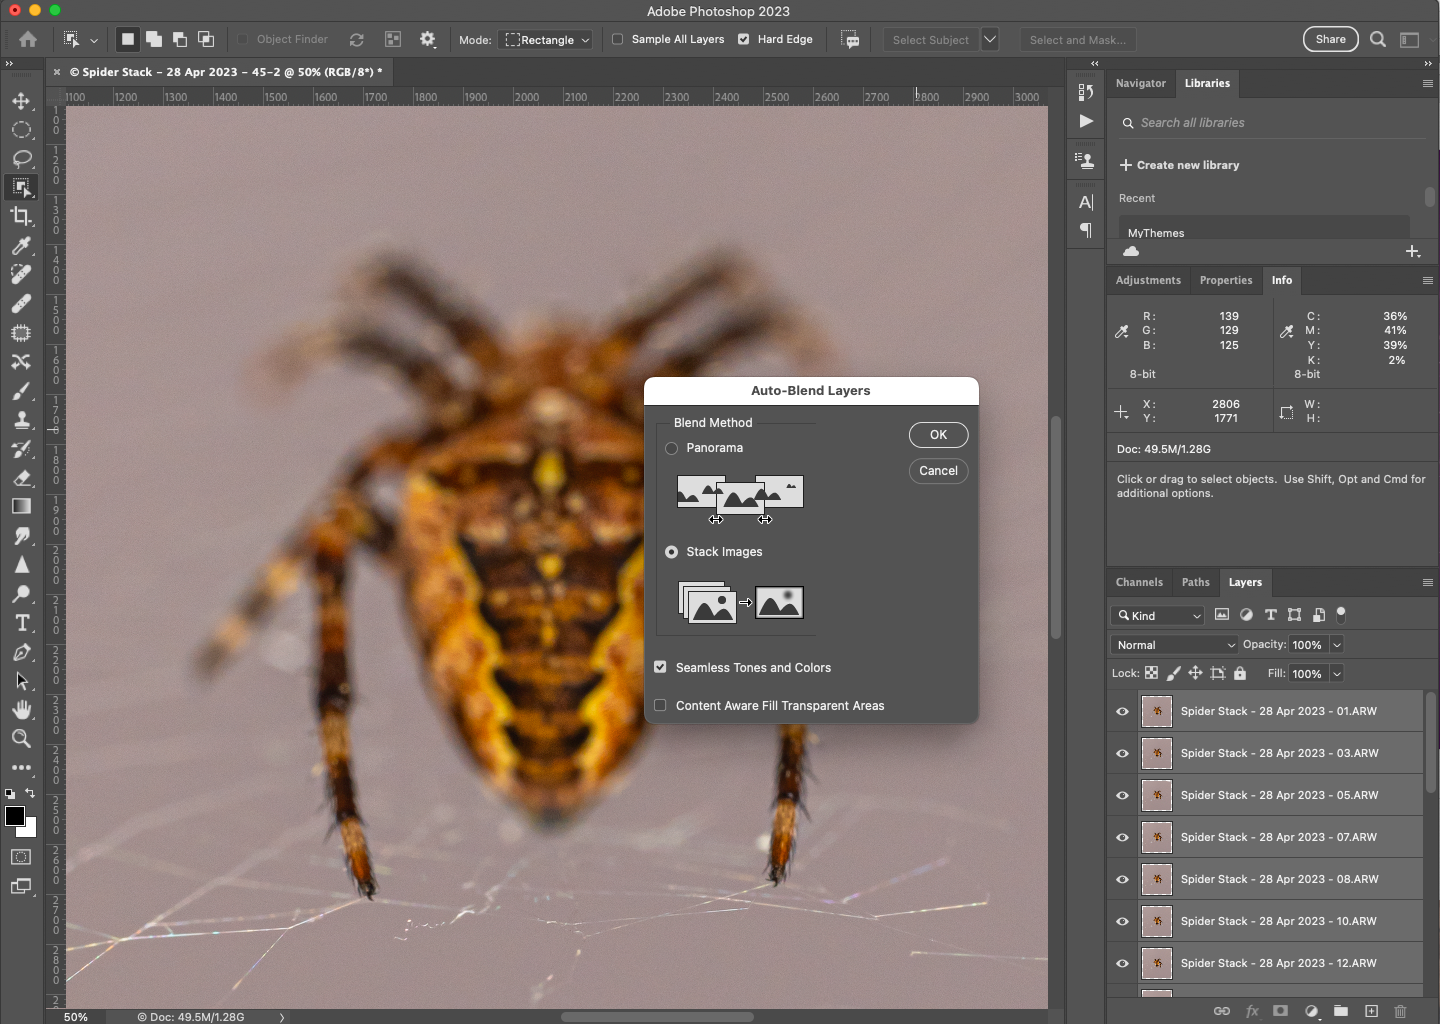
Next step is to use the Layer Blend… option in Photoshop.
This does most of the hard work, analysing the sharpest areas of each layer, masking them very precisely, and creating a composite that is in focus from near the lens to farther off.
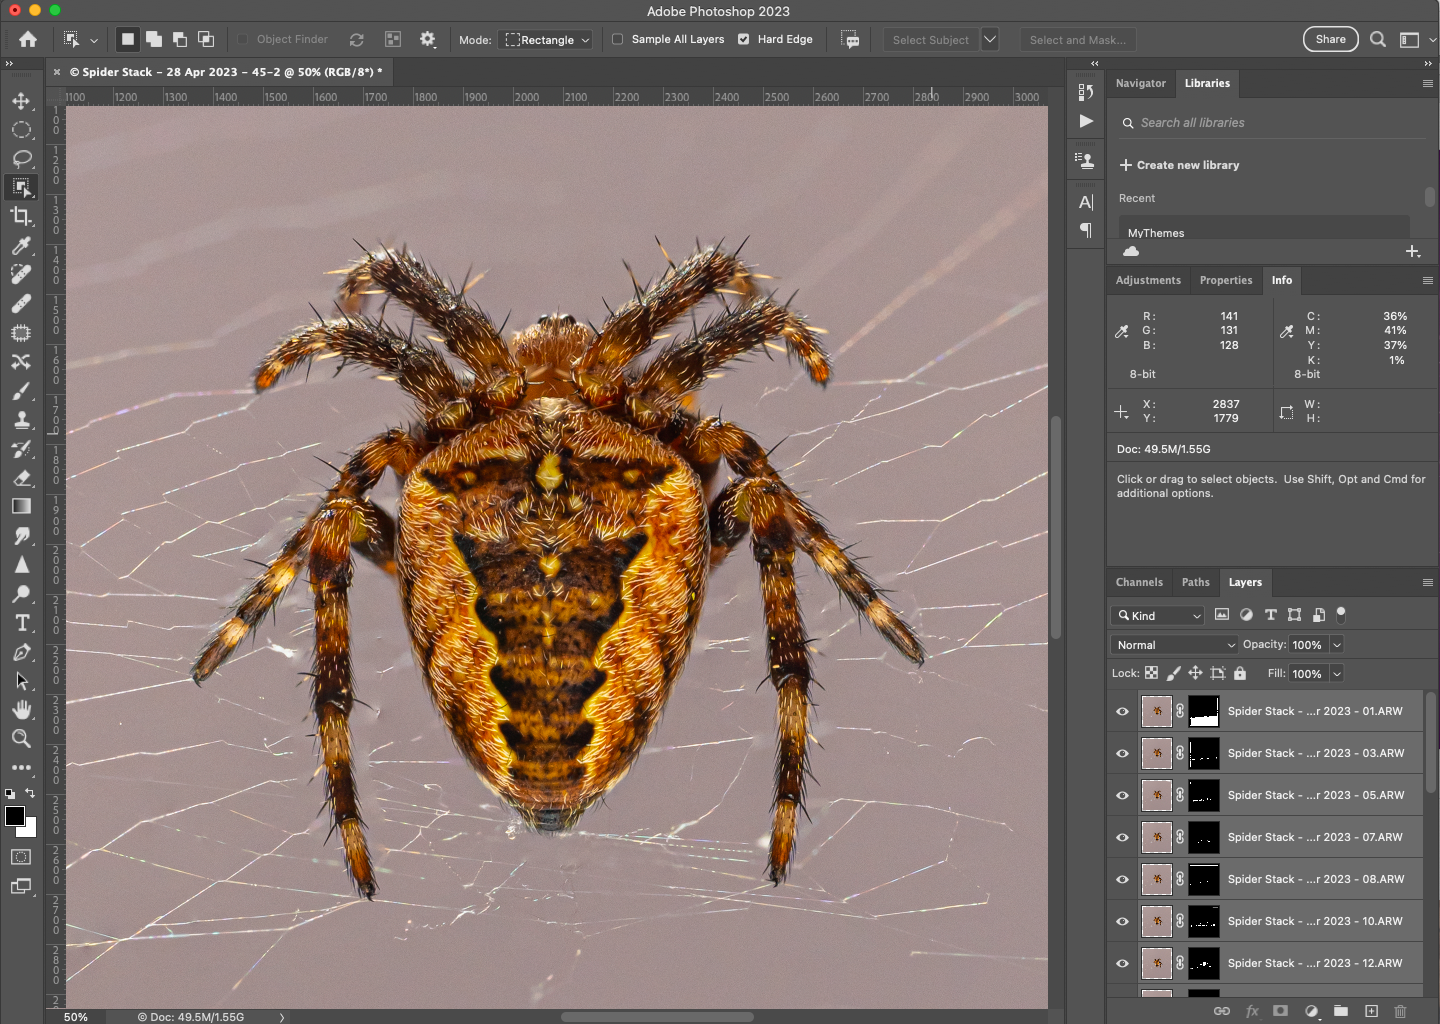
Happy that everything was looking as best it could, the layers are merged. There are areas where the software will struggle and there’s a few spots near the body where the spider web was off and/or out of focus. This took a bit of fixing with clone stamp tool and healing tools to get it looking a bit better.
I ended up with an image I liked here and a better grasp of what works, what works less well with some precise focus stacking. Photoshop did it's best, but I think there may be other more dedicated software that could achieve a better initial stack.
Post Edit... some Hue, Saturation and Luminance (HSL) tweaks in Lightroom to enhance the colours in the spider. Photoshop was used to add a coloured vignette layer that was blended in to boost the colour contrast of the background. As an experiment I also ran the final edit thorugh Topaz's Gigapixel software and this produced a 2x version of 5470 pixels.
Not one for the arachnophobes!